


Content inspector for images
- URI
-
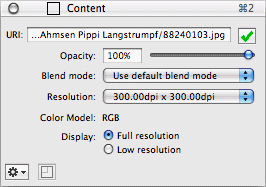
If the content of a frame is an image, it has a URI ('Uniform
Resource Identifier'). The relevant path is shown here in the Content
inspector. Even URLs (this means internet-based URIs) are possible!
A click on the OK symbol reloads the frame content. This is
recommended e.g. when the original image has been updated on your hard
drive and you want to synchronize it in the document without complex
import actions.
If the original image file has been moved or deleted, a red symbol
indicates that the image URL has been changed.
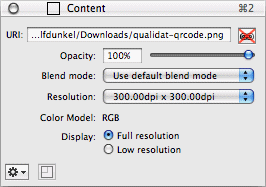
When you click on the red symbol, you can update the image URL, or
assign a new image to the frame.
- Opacity
-
Each image has an adjustable opacity from 0% to 100%. Adjust it
by entering the desired numeric value or move the slider with the
mouse.
- Blend mode
-
Here you can define how the image frame will be blended with
the background. Blend mode is described in detail at the end of the
Inspectors
chapter.
- Resolution
-
Here you can see the current resolution of the image in the
selected frame. The resolution is measured in dpi (dots per inch). For
high-quality prints, images should be scaled to 300dpi at least. Lower
or higher resolutions may be suitable, depending on the purpose of the
image.
When image resolutions are below 150dpi, they are shown in red. Image
resolutions from 150 to below 300dpi are shown in orange. 300dpi and
above are shown in normal
black text.

You can see the current image resolution here, and you can even select
a common image resolution after a click on the pop-up menu. The image
will then be scaled immediately.
- Display
-
Choose here if the image should be displayed in its high
resolution, or in low resoluton (72 dpi). Print output uses high
resolution in general.
- Additional functions
-
Click the action symbol in the bottom left corner of the
Content inspector to access additional functions.
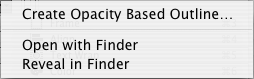
- Create Opacity Based Outline
-
If the image in the selected frame contains transparency
information, you can create an outline using this function. Then use
the outline for image clipping, text wrap or other layout purposes.
When you choose the function, the following dialog opens:
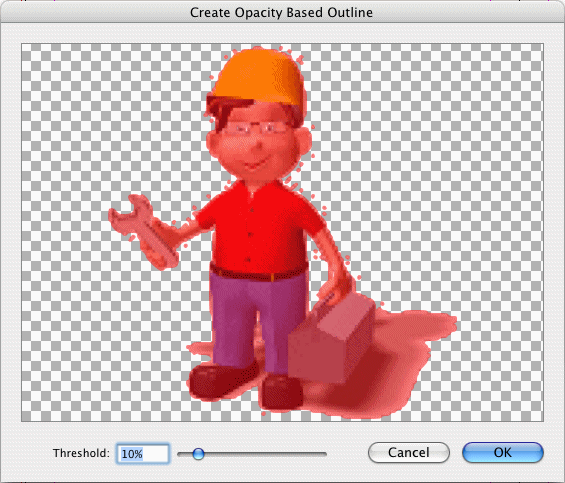
The red tinted area which is shown in the preview, is above the
threshold which can be set at the bottom of the dialog. A threshold of
0% creates an outline that clips only the white parts. A threshold of
100% does not create any outline at all.
- Open with Finder
-
When you choose this menu item and the image is a local file
(URI), it will be opened in the Finder. This means the Finder launches
the relevant application which is responsible for handling this type
of image. The application then loads and shows the image.
If the image is an internet file (URL), it will be opened and shown in
the preferred Internet browser.
- Reveal in Finder
-
Local files will be shown in their directory in the Finder.
- Adjust image proportional to frame size
-
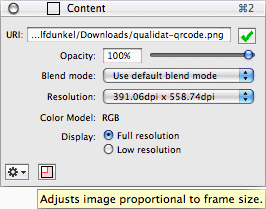
When you see the tiny frame symbol at the Content inspector bottom
tinted red, it signals that the image in the frame is currently not
sized to its original proportions. With a click on the symbol you can
adjust the image in proportion to the current frame size. The image
will be centered in the frame.
Copyright © invers Software & DSD.net (Home)
Last updated on June 13, 2015
