[Ten rozdział nie został jeszcze przetłumaczony.]
If your book should also contain images, feel happy. Images help so much to illustrate the textual content. Therefore images should be placed near the corresponding content and not – like practised even 30 years ago – be collected in say eight pages in the center of the book or even at the end of the book.
Of course you may place images simply
in the book document.
Select Image tool, create a frame, import an image, done. – But
what if the image is placed perfectly near the corresponding content
on page 42 today, but next week the text changes and the image should
then rather be placed on page 44?
It were ideal if images could follow the textual content, even become part of the textual content. It's possible!
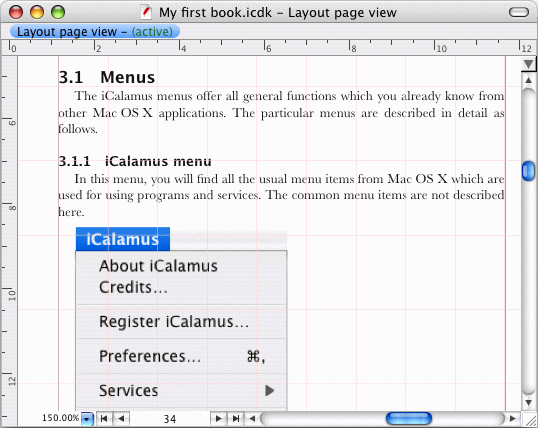
Place your text edit cursor somewhere in the text where you want to insert an image. The following picture shows a textual placeholder for the image to be inserted. This text line has been created in our manual database. It informs us when typesetting the manual, where to place which image.
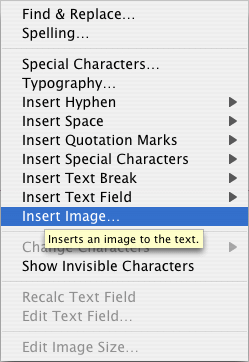
Now open the context menu by doing a [Ctrl]-click and choose the
menu item Insert image
.
Please be aware when importing the image not to use a wrong import
mode which could change the size of the text frame. Please do always
choose the import mode Import content to frame
here.
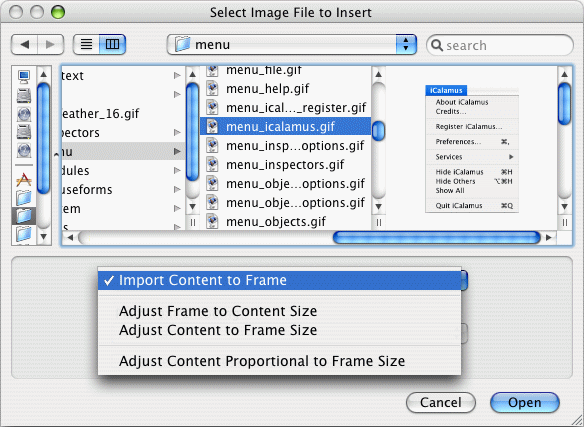
Afterwards you see a dialog where you can and should define the size of the image. Please keep in mind that your text frame in our example has a width of about 9.3 cm. Your image should not be wider in order to be shown in the text frame.

If you only change the width of an image and have switched on the proportional mode symbol (i.e. the chain between both measurement values), the height will automatically be adjusted proportional too.
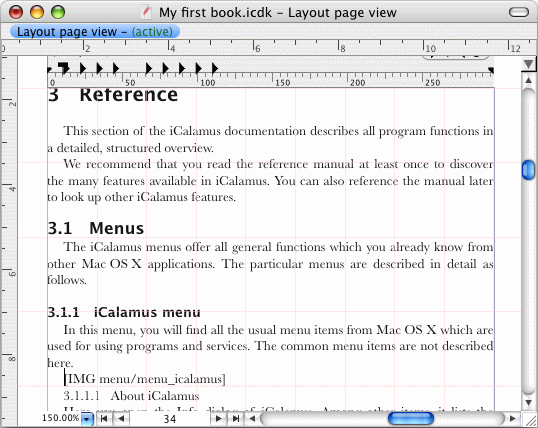
In our example we have to remove the placeholder text for the
image after import. In fact the image will not be placed properly in
the text then, but cover other text lines. The reason is that the
image is now treated like a character in the text frame. If the image
is higher than the adjusted text line height, it will be treated like
a very high character. In our example we have adjusted the text
ruler's line height to exactly 11 pt
, so the high image covers
the previous lines.
But there is a remedy. Please create a new text ruler for images in the Text Ruler inspector, e.g. using the parameters like shown below.
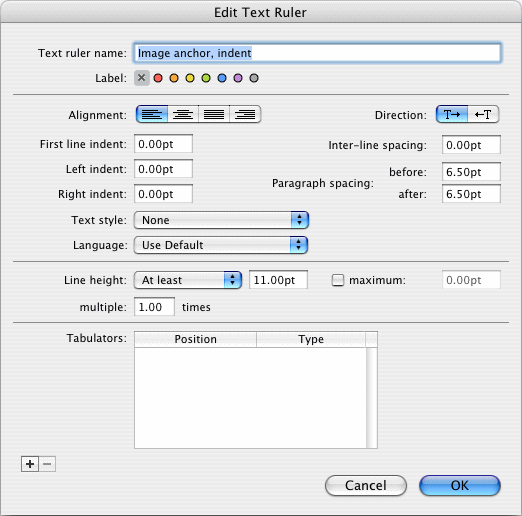
When you then select only the image in the text frame with your mouse and assign the just now created text ruler, the image will automatically be formatted and output below the preceding text and in front of following text.