[Ten rozdział nie został jeszcze przetłumaczony.]
If you want to create a photo book from the scratch, you might
decide to have the page background tinted all black for higher image
contrast. Of course you can choose any other color or motive as page
background. When you have tried the following steps yourself, you will
be able to handle document backgrounds very easily.
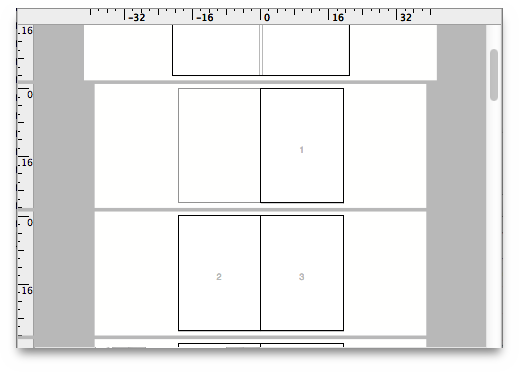
When you have created a new document, it is not a good idea to
create maybe tens or even hundreds of colored background frames on
each single layout page. Rather, you should use the Master Page
View
, which offers to put the same stuff under multiple layout
pages at once. Just click the tiny menu button in the upper left
corner of the document window. In the popup menu which will then
appear, select Master Page View
. The document view will
automatically switch to this view, now showing only two pages.

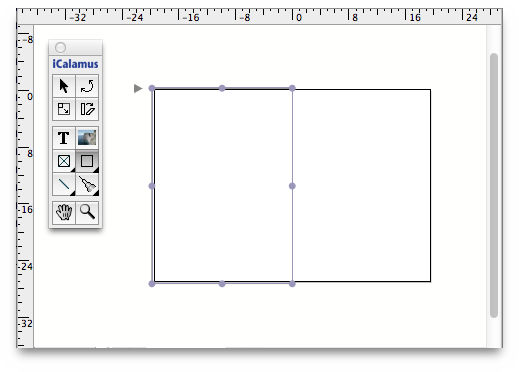
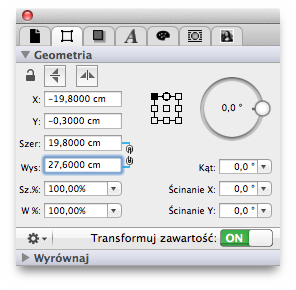
Now select the Rectangle Shape Tool in the Toolbox panel and create a new frame on the left master page. You might want to adjust it in the Geometry inspector so that it overlaps the real page size, as shown by the red border guides.
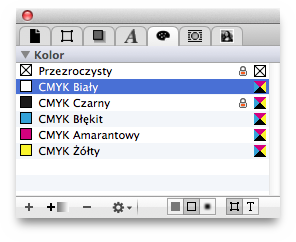
When you're done, open the Paleta Kolor and tint the frame black. Ensure that you have chosen the right buttons in the Paleta Kolor's bottom line to have the shape tinted, not the outline or the shadow.
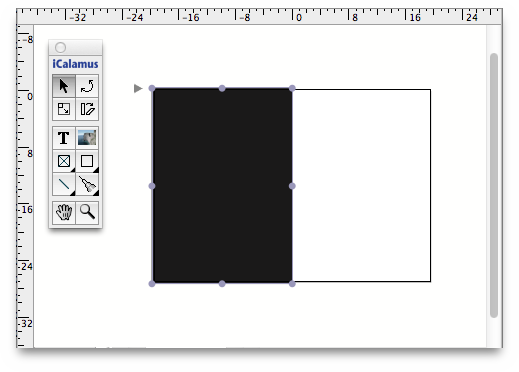
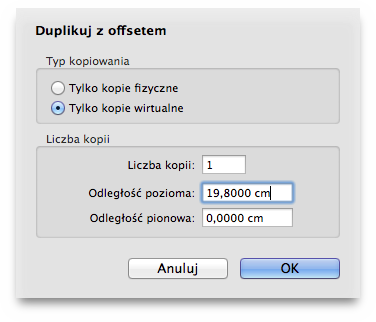
Now you should copy the frame to the right master page. (You could of course just create a single frame which covers both master pages, but this way you can more easily decide to have – for instance – the left pages tinted in 80% gray, or white, or use an image as a background pattern instead.)
Now you're done with the background and can switch back to the
Layout Page View
. You still know where to switch back, right?
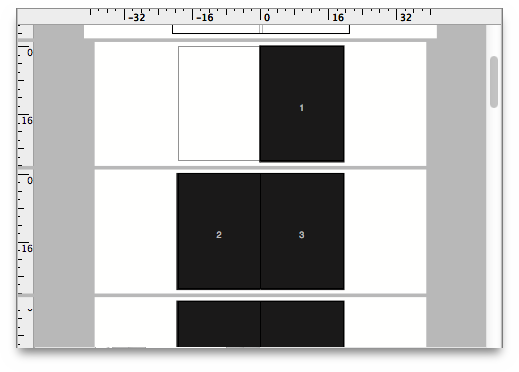
Here is your photo book, with all pages perfectly tinted in black. They await your images which you can now easily place on all existing layout pages. Whenever your add new pages, they will also get the black background, as long as you don't create and assign a new set of master pages to several layout pages.
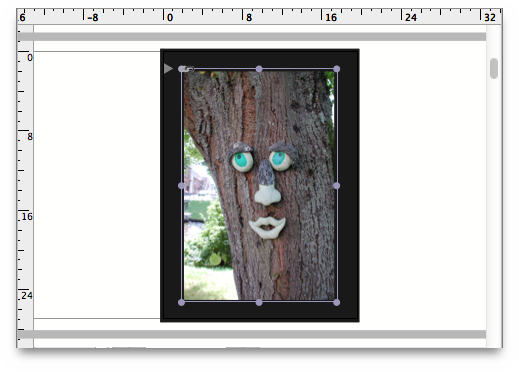
Of course images look pretty on black background. But sometimes they even look jazzier when you add a solid white border to them. You can add the border directly to the image frame. Don't fiddle around with additional frames – it's all there, you have just to switch it on.
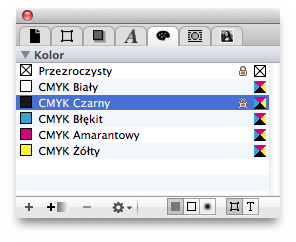
Select an image frame and open the Paleta Obrys
. Switch the
option Rysuj kontur
on. Adjust the thickness of the outline to
say 5 mm. You won't see any outline drawn, because its color is still
predefined to transparent, as for each image frame you create.
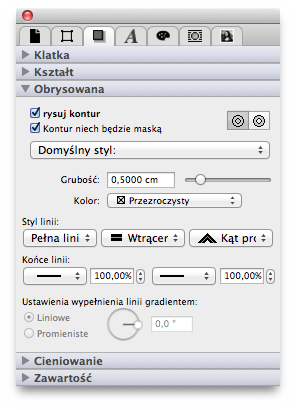
Guess what? Right! You have to use the Paleta Kolor and set the outline color to white. That's all.

Now you can try other frame attribute features like rounded outline corners, outline shadows (nice on light backgrounds), rotate images, etc. It's all there – just switch it on.
