Imagine that you are the one who adds a new language localization to iCalamus 2. Or guess that a localization of iCalamus 2 exists already, but you take over the localization support for this language or are the maintainer but have to set up things new on a new Mac. Here is a rough description what to do.
You need to install Xcode 6.x which can be obtained for free from the Mac App Store.
You need to install iLocalize 4.x which can be obtained for free from the Mac App Store.
Download the current version of iCalamus 2 from the official download path given by invers Software.
Uncompress it on your desktop in order to get a functional iCalamus.app there.
Now choose a location on your hard drive where to place the localization project. I myself use a development folder iDEV and created a new folder iCalamus2_GUI there. Create your iDEV folder in your desired place.
Start iLocalize and select File > New Project
. Set everything as shown in the snapshot below to your needs.
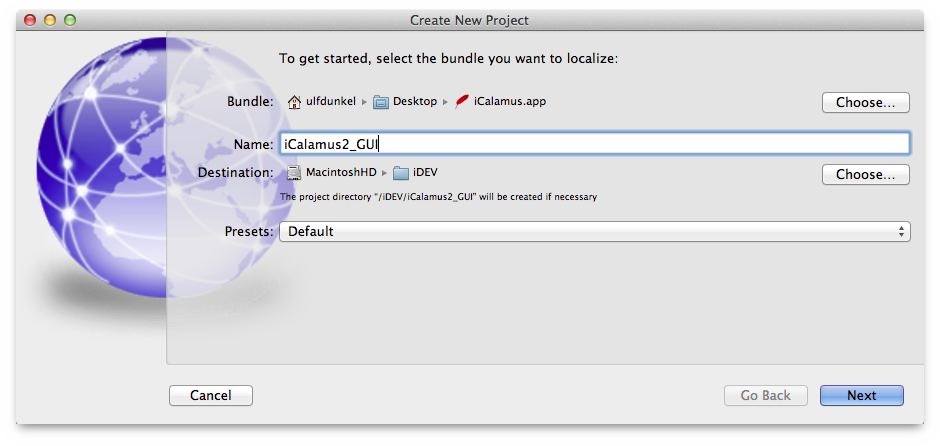
When you click Next
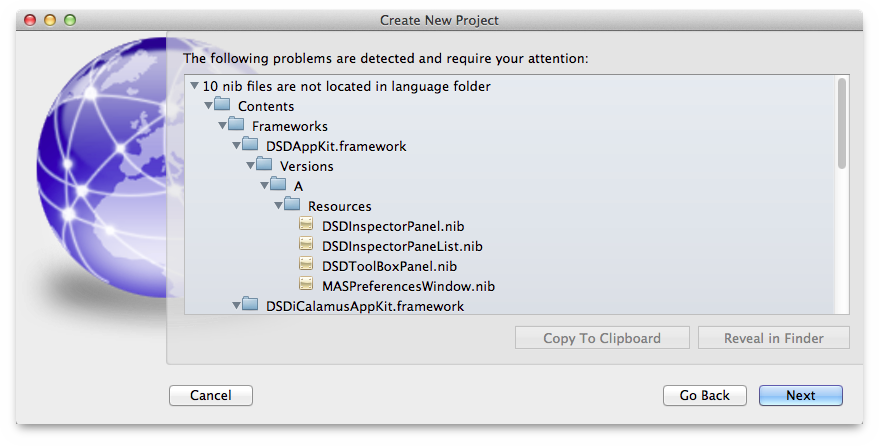
, another dialog informs you about some non-localizable or read-only files. (Some nibs do not contain any localizable strings so we placed them outside localizable project folders.) Just ignore them and click Next
again.
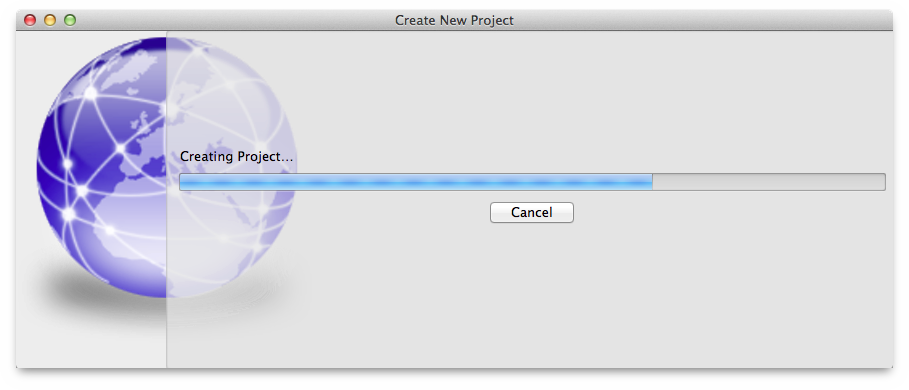
Now we are ready to really create the project. If you are familiar with other languages than English (which should always be the untouched Base language!), you may want to check the relevant other available languages, too. Usually you will just set everything as shown in the dialog snapshot below. Click on Create
and see iLocalize import everything.
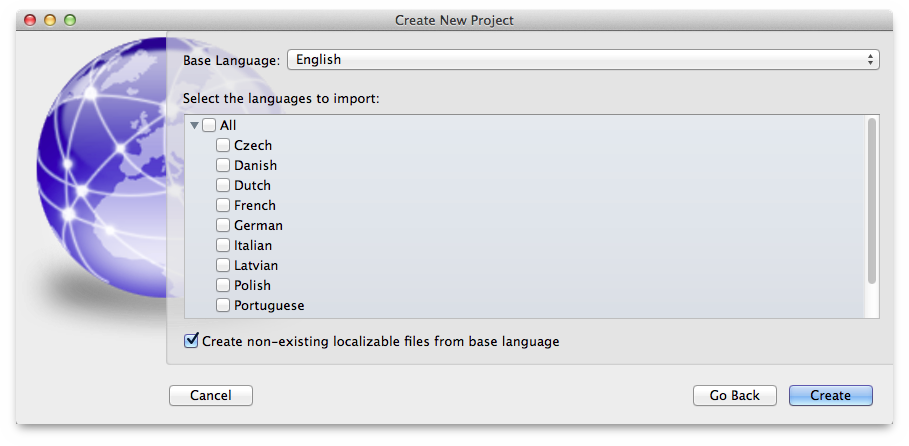
Creating the project might take a while, esp. when you import all available languages. Please be patient.
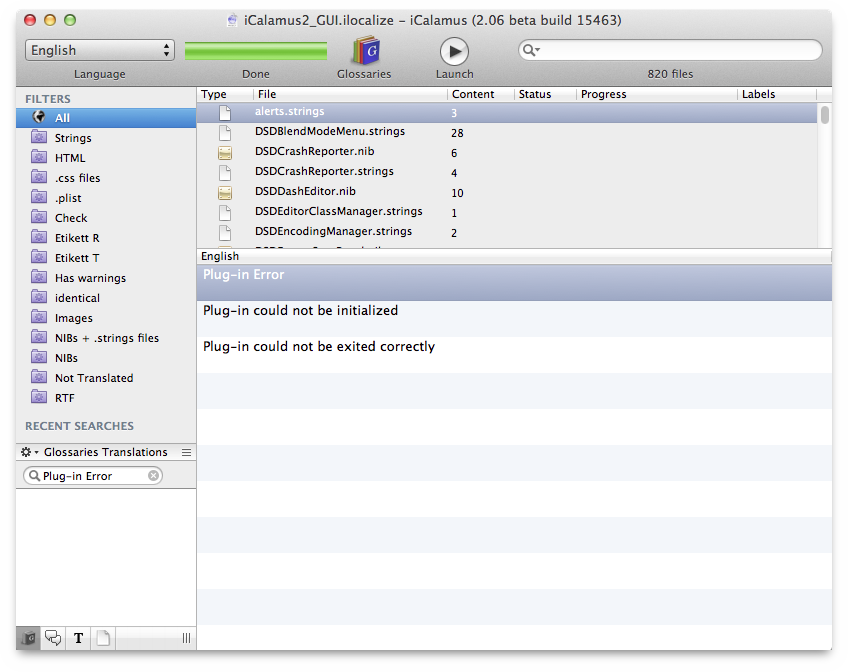
When you're done with the import, you will see the Main window of iLocalize which shows some filter presets, the localizable files, some inspector icons in the bottom-left corner, and an Edit area in the bottom-right area, where some English strings are shown, depending on which file was selected in the files list above.
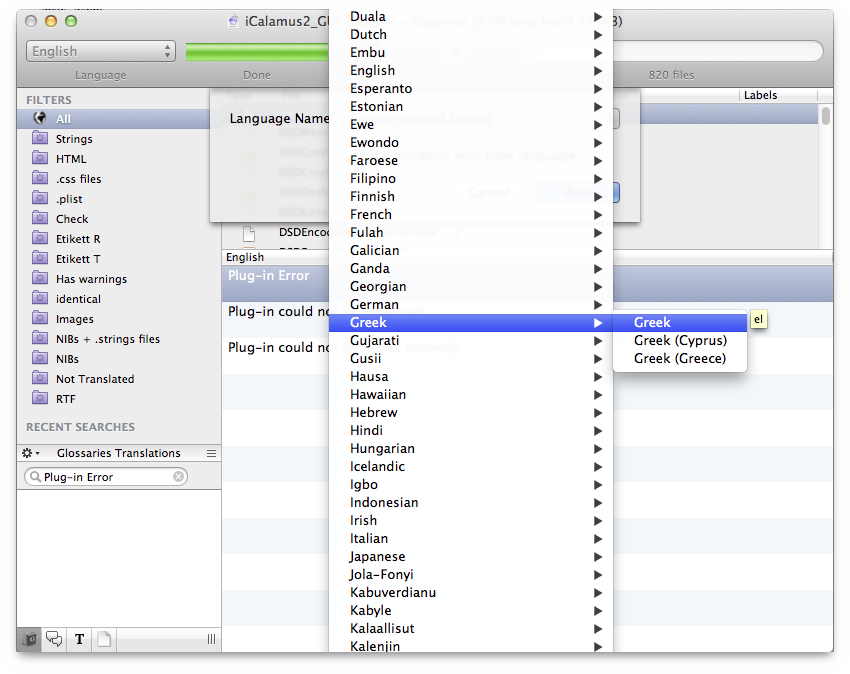
Now add your language (Project > Add Language
). Please do only add a language setting without any country designator, (e.g. Greek
, but not Greek (Greece)
).
Let iLocalize fill the new files with the base language strings!
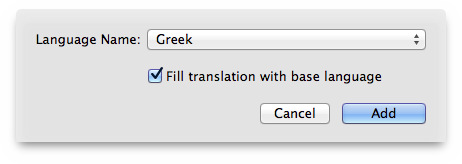
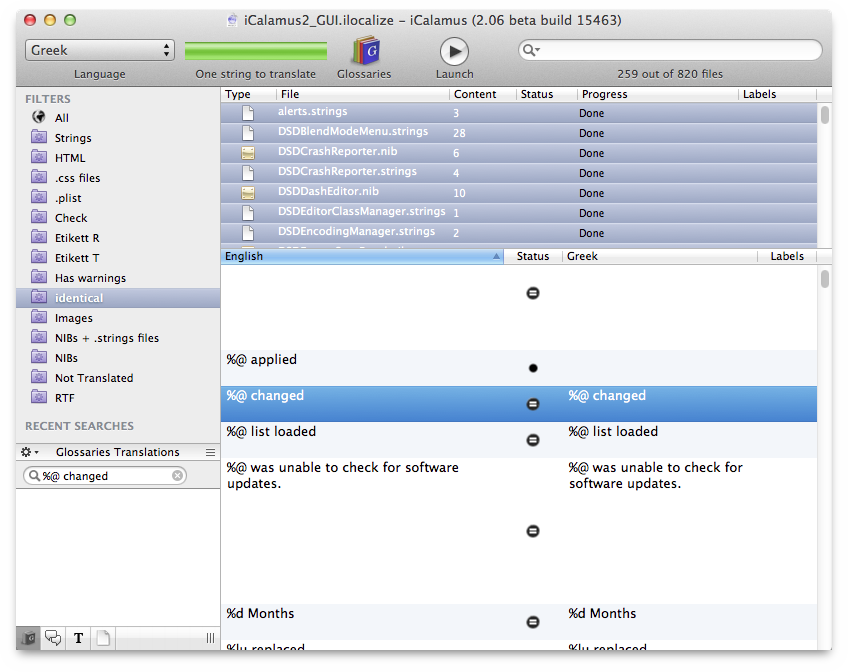
When iLocalize has added your language, it has created new files and folders inside your project. These files are filled with the English base texts due to the previous step. Please select the Identical
filter. Then select all files in the files list. Now sort all shown strings by the English base language. Scroll down through all strings and check if the identical strings should rather be translated into your own language or not. If you find localizable strings, select the string row and press [Cmd][F1] (or choose Translate > Clear Translation
from the app menu). Repeat this step for all strings which need to be changed in your language. There should be about 3,500 strings left for translation.
You can leave some strings untouched, like item1
,item2
,item3
,OtherViews
, which are auto-generated strings in NIB files.
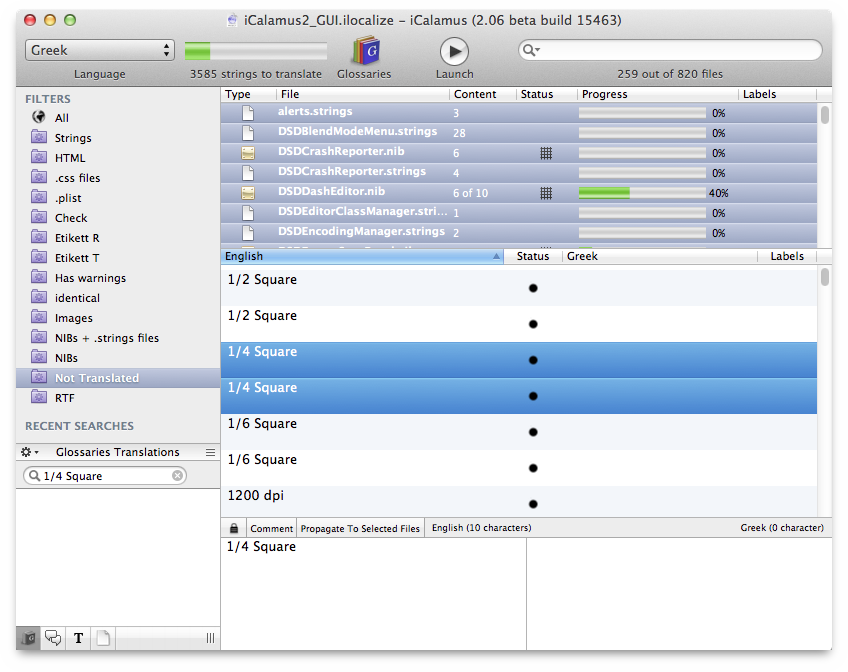
When you're done with this, you can click the Not Translated filter and will see all your previously cleared strings. Now start localizing them. It helps to select all files and sort the strings alphabetically, because there may be more existances of the same string which should be translated identically in most cases. But before you start, you should choose View > Show Text Zone
to see the edit zone for strings (which is hidden by default). You can select multiple strings and translate them at once, using the Text Zone.
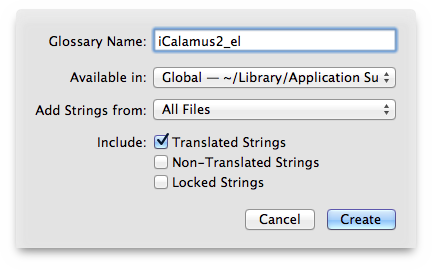
When you're done, you should save your translated strings in a glossary. Select File > New Glossary
and save all Translated Strings from All Files in the Global Application Support for iLocalize glossaries. Give it a meaningful name, e.g. iCalamus2_el for a Greek glossary.
Using glossaries helps to avoid multiple localizations of the same string. If you would like to conform to Apple's already localized stuff, feel free to pick their available glossaries for your language from the Apple Developer Download section. Choose Help > Apple Glossaries
to open the Apple Developer site in a browser. A (free) Apple Developer account is required to get access to this site. When you add glossaries to iLocalize globally, the strings from these glossaries will be suggested when you translate strings. This might really help saving time and adjust your localization with strings already used by Apple.
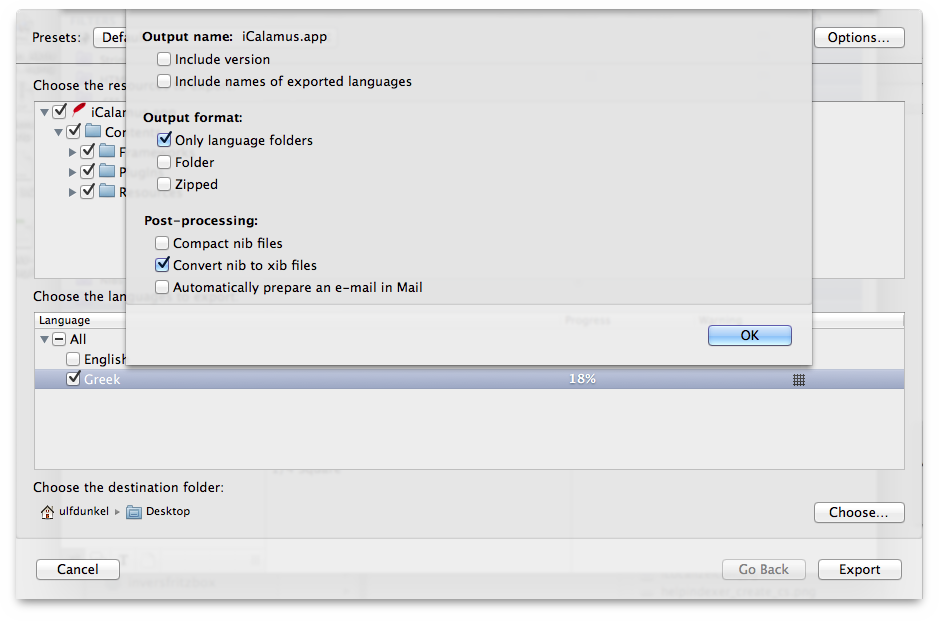
Now you should send us your work. Choose Project > Export
and prepare everything as shown in the next screen shot, which shows both the Export sheet and the opened Options sheet of it.
Important: You have to let iLocalize convert the NIBs into XIBs, because our iCalamus sources use XIBs which are only converted into NIBs when the application is being build.
